Did You Know?
JENTIS is the only european Server Side Tracking Solution
JENTIS is the only european Server Side Tracking Solution


In this chapter we go through a quick setup for a default Google Analytics account.
Follow the steps in order to create a fully usable setup including User-, Session-, Page- and Ecommerce Tracking.
To start sending data server side via JENTIS you have to complete the basic setup by following this guides:
To track at least Pageviews, add beyond the Basic Tracking Code the following lines of Javascript Code.
<script>
	_jts.push({
		"track"     : "pageview"
	})
	_jts.push({"track":"submit"});
</script>
To get more infos of those lines, see also Tracking Fundamentals
After you have completed your registration, you will have access to your first login-user via email:
| What | Description | Example |
|---|---|---|
| Your Login URL | Use this url to access your JENTIS System | https://<your short>.weu.jentis.com |
| Your Username | Use this username to login | admin |
| Your Password | You will receive an email by JENTIS to set up your own individual password. Use this password to login. You can change your password at anytime with the JENTIS System. | mypass123! |
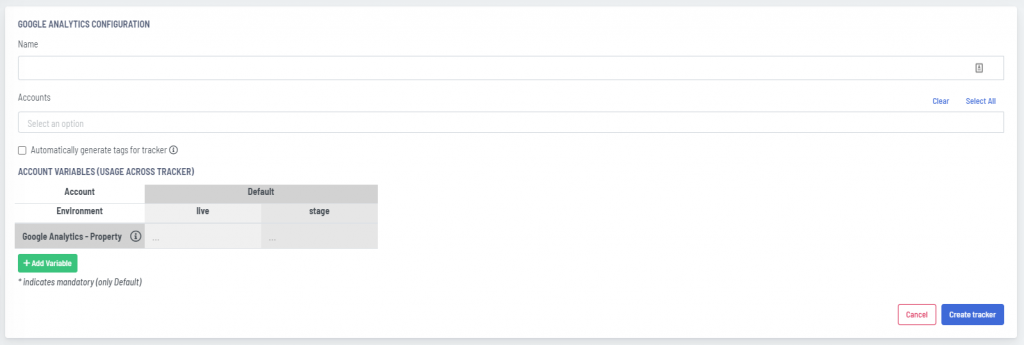
To add a new tracker, navigate to the JENTIS Tag Manager (top navigation), and click to Tracker.
In the bottom right corner of the page you will find a Plus-button. Click this button, and you will see all available and licensed Tools you can use as a tracker. If a tool is not clickable and out grayed, that means it is not included within your license.

Now click to the tool of your choice to add a new tracker.
Navigate to versions. Here you will be able to preview the current, not yet published version in green. Each account has its own version, so be sure which account you wilsh to preview.
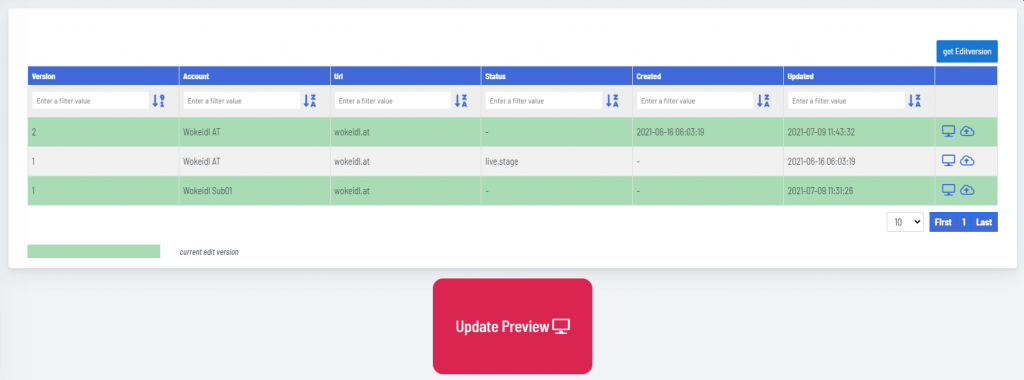
Choose your version and account and click to the preview icon. You will be redirected to our tracking inspector service.
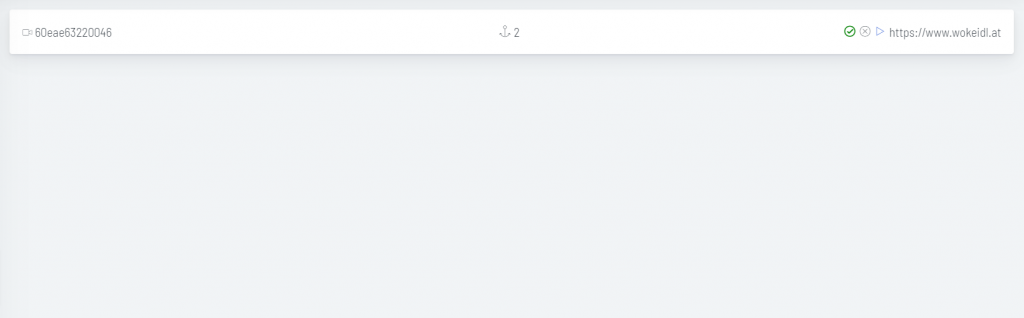
Click to the small triangle icon, and you will be redirected to your website, while JENTIS is loading the previewed version instead of the live version.
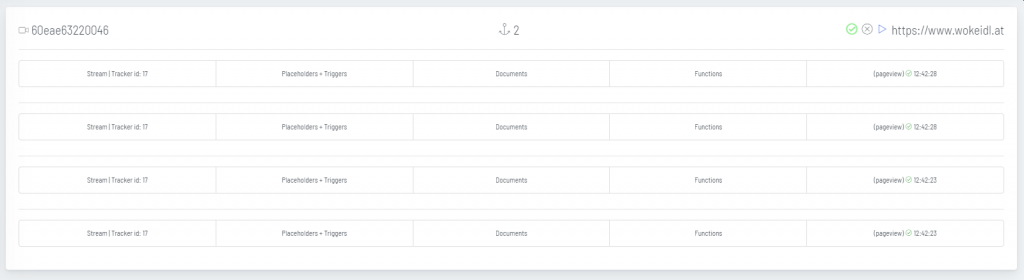
Test your new version. Please check the tracking inspector regularly. You will see all tracking streams sent by JENTIS to the pixel receivers (in our example, to Google Analytics).
If something is not working as expected, you can edit every singe variable in the JENTIS Tag Manager once more. After you’ve finished your change, come back to versions and click the big red button “Update Preview”.
If everything works as wished you can start to publish again. If not, please retry.
Navigate to versions again and find the version you will publish. Click on the cloud icon to start the publishing process.
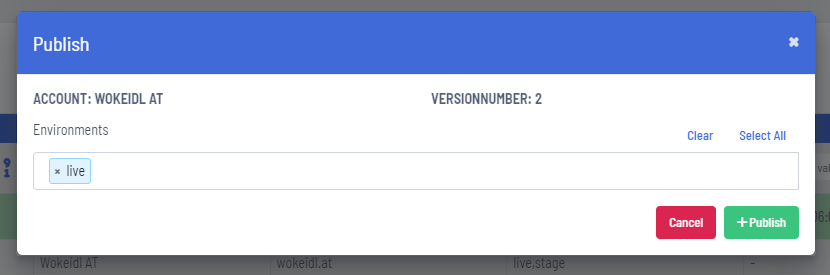
In the popup you can choose for which environment you wish to publish your version (Remember the environments differ because of the different values of your account variables, in our example, different Google Analytics Property IDs).

You created your first Tracker, used the default settings, previewed your work to be sure everything works fine, and finally published your version.
Good feeling, aye?